Embark on a culinary adventure as we delve into the art of crafting your own fermented salsa—a delightful fusion of flavors and probiotic goodness. In this journey, we’ll explore the steps to transform fresh, vibrant ingredients into a tangy, probiotic-rich masterpiece. From the meticulous chopping and blending of tomatoes, peppers, and herbs to the optional addition of whey for an extra boost, each step is a symphony of skill and creativity.
Join us as we demystify the fermentation process, guiding you through the careful packing of the salsa into a jar, the addition of salt for fermentation, and the final crescendo of moving the jar to the refrigerator. Get ready to elevate your salsa game and savor the wholesome, transformative essence of homemade, fermented delight.
Why Fermented Salsa?
Fermentation is an age-old technique that not only extends the shelf life of foods but also enhances their nutritional profile. In the case of salsa, the process introduces beneficial bacteria, or probiotics, which not only contribute to the tangy flavor but also support gut health. Beyond the health benefits, fermented salsa boasts a unique depth of flavor, marrying the freshness of vegetables with the complexity that fermentation imparts.
Ingredients You’ll Need:
For the Salsa Base:
- Tomatoes: Use fresh, ripe tomatoes for the base. You can mix varieties for a nuanced flavor.
- Onions: Red or white, finely chopped for a subtle onion kick.
- Bell Peppers: Choose a mix of colors for visual appeal and varied taste.
- Jalapeños or Chili Peppers: Adjust the heat according to your preference.
- Garlic: Minced for a robust flavor.
- Cilantro: Fresh cilantro adds brightness. Use stems for added flavor.
- Lime Juice: Freshly squeezed for a zesty touch.
- Salt: A crucial ingredient for flavor and fermentation.
For Fermentation:
- Whey (Optional): Whey from strained yogurt adds additional probiotics and aids in the fermentation process.
- Salt: Non-iodized, as iodine can inhibit fermentation.
Equipment You’ll Need:
- Glass Jar with Lid: Ensure it’s clean and sanitized.
- Fermentation Weights: To keep the salsa submerged in its juices.
- Cheesecloth or Coffee Filter: To cover the jar and allow gases to escape.
- Rubber Band or String: To secure the covering.
Steps to Craft Fermented Salsa:
Step 1: Gather Fresh Ingredients

Gathering fresh ingredients is the cornerstone of any culinary endeavor, setting the stage for a vibrant and flavorful outcome. When embarking on a cooking journey, prioritize the use of high-quality, ripe, and seasonal produce. From the juiciness of tomatoes to the crispness of herbs, the freshness of ingredients not only enhances the taste but also elevates the nutritional value of your dish.
Whether plucking vegetables from your garden, selecting them at a local market, or even harvesting from a nearby farm, the act of gathering fresh ingredients is a celebration of nature’s bounty, promising a delightful and wholesome culinary experience.
Also Read- Best Ways To Cook Sweet Potatoes
Step 2: Chop and Prepare Ingredients
In the culinary dance of preparation, Step 2 beckons the chef to chop and orchestrate the ingredients. This ritual involves finely dicing tomatoes, onions, bell peppers, jalapeños, and garlic, creating a symphony of flavors that will meld harmoniously in the final dish. The artistry lies not only in the precision of the chop but in the thoughtful composition of each component, ensuring a balanced and delightful ensemble.
As the knife dances through fresh produce, the kitchen becomes a canvas where the vibrancy and aromas of each ingredient come to life. This step, an ode to meticulous preparation, lays the foundation for a culinary masterpiece, inviting both seasoned chefs and aspiring cooks to partake in the art of crafting deliciousness.
Step 3: Create the Salsa Base
“In Step 3, culinary creativity takes center stage as the salsa base comes to life. This process involves a delightful fusion of finely chopped tomatoes, onions, bell peppers, jalapeños, garlic, cilantro, and a splash of fresh lime juice. The mixing bowl transforms into a palette, and the ingredients, each contributing its unique hue and flavor, blend seamlessly to create a vibrant salsa base.
The addition of salt acts as the conductor, harmonizing the ensemble. With each stir, a tantalizing aroma fills the air, promising a salsa that not only delights the taste buds but also captures the essence of freshness and zest. Step 3 is a celebration of flavor, inviting culinary enthusiasts to revel in the magic of crafting a salsa base that embodies both skillful technique and inspired artistry.”
Step 4: Optional: Add Whey
“In the optional interlude of the culinary symphony, Step 4 introduces the possibility of adding whey to elevate the fermentation process. Whey, obtained from strained yogurt, becomes a guest conductor, enhancing the probiotic content and expediting the salsa’s journey to tangy perfection. This step is a nuanced choice, allowing enthusiasts to infuse their creation with additional health benefits and a subtle complexity.
As the optional note of whey joins the salsa base, it contributes not just to flavor but to the intricate dance of beneficial bacteria, transforming the preparation into a probiotic-rich composition that beckons a deeper appreciation for the art of fermentation.”
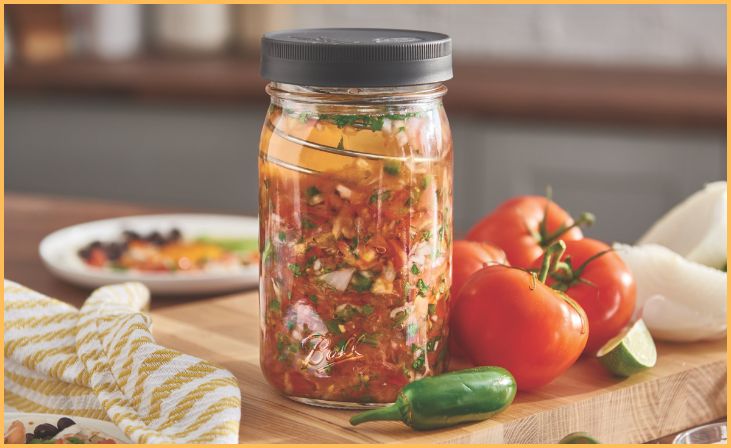
Step 5: Pack the Salsa into the Jar
In the culinary ballet of fermentation, Step 5 choreographs the salsa’s entrance into its glass sanctuary. The vibrant medley of diced tomatoes, onions, peppers, and herbs, now a harmonious blend, elegantly descends into a clean, sanitized jar. With each layer, the ingredients weave a flavorful tapestry, immersed in their natural juices.
The gentle packing not only eliminates air pockets but sets the stage for the transformative dance of fermentation. The jar, now a vessel of potential, awaits the alchemical processes that will unfold, promising a salsa brimming with depth and probiotic richness.
Step 6: Add Salt for Fermentation
Step 6 introduces a pivotal moment in the salsa’s journey—adding salt for fermentation. This simple yet crucial act involves sprinkling non-iodized salt onto the salsa’s vibrant medley. Beyond enhancing flavor, the salt serves as a catalyst for the fermentation process, creating an environment conducive to the growth of beneficial bacteria.
This carefully measured addition not only contributes to the salsa’s tangy depth but also ensures the creation of a thriving microbial community within the jar. As the salt integrates with the salsa, it becomes a key player in the orchestration of flavors and the alchemical dance that will unfold during the fermentation period.
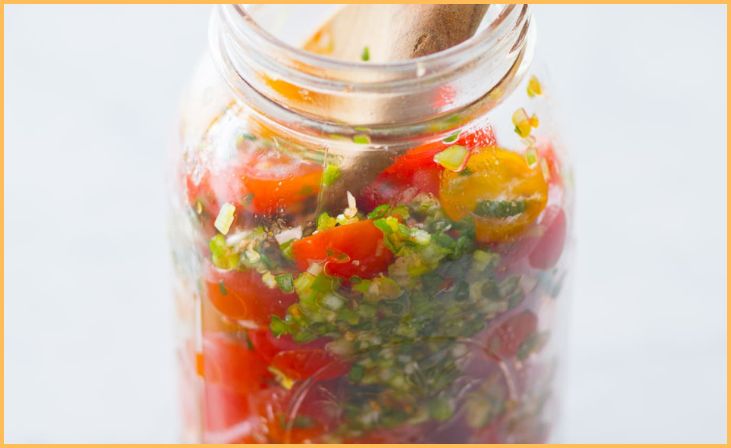
Step 7: Weigh Down the Salsa
In this pivotal act of culinary care, Step 7 delicately involves placing fermentation weights atop the salsa within the jar. These weights serve as gentle guardians, ensuring that the vibrant salsa remains fully submerged in its flavorful juices.
By creating an anaerobic environment, this measure fosters the ideal conditions for fermentation, allowing beneficial bacteria to thrive while keeping potential contaminants at bay. The weights act as silent sentinels, maintaining the integrity of the salsa’s composition and setting the stage for a symphony of transformative flavors to unfold within the jar.
Step 8: Cover and Secure
In Step 8, we embrace the salsa’s journey towards transformation by covering and securing its fermentative haven. A layer of cheesecloth or a coffee filter becomes a breathable yet protective shield, allowing gases produced during fermentation to escape while preventing external contaminants from intruding.
Securing this cover with a rubber band or string is akin to dressing the salsa in a protective cloak, safeguarding its intricate dance of flavors within the confines of the jar. This step marks a moment of transition, where the salsa, now veiled in its fermentative cocoon, prepares to undergo the alchemical processes that will unfold over the coming days.
Step 9: Ferment at Room Temperature
The culinary symphony enters a crucial movement in Step 9 as the salsa takes center stage for fermentation at room temperature. Placed in a cool, dark space, the jar becomes an incubator for the magical dance of beneficial bacteria.
Allowing time and the perfect conditions to work their transformative charm, this step is a patient interlude where the salsa evolves, gaining depth, tanginess, and a symphony of probiotic richness. It’s a culinary journey where the simple act of fermenting at room temperature sets the stage for a crescendo of flavors to develop and harmonize within the jar.
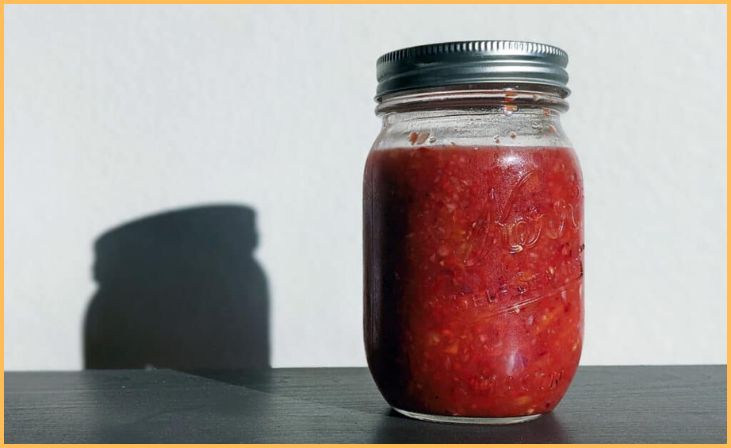
Step 10: Move to Refrigeration
As Step 10 unfolds, the culmination of the salsa’s fermentative journey beckons a transition to refrigeration. This final act signals a shift from the room-temperature incubation to a cooler environment, putting the brakes on the fermentation process. Moving the jar to the refrigerator not only slows down further transformation but also preserves the salsa’s probiotic richness.
The cold confines of the refrigerator become a stage where the flavors, now in their final arrangement, continue to meld and mature. This step ensures that the salsa, crafted through meticulous preparation and patient fermentation, is ready to grace your palate with its tangy, probiotic-infused allure.
For More- 9 Speedy and Flavorful 30-Minute Vegetarian Meals
Tips for Success
- Use Clean Equipment: Sterilize jars, weights, and utensils to prevent unwanted bacteria.
- Adjust Salt: The amount of salt can impact the fermentation process and taste. Experiment to find your preferred balance.
- Monitor Fermentation: Check the salsa daily during the fermentation period. Taste it to determine when it reaches your desired flavor.
Conclusion
Crafting your own fermented salsa is a rewarding and flavorful endeavor that introduces you to the captivating world of fermentation. As you open that jar and scoop out a spoonful of tangy, probiotic-rich goodness, you’ll not only savor a homemade treat but also nourish your gut with every bite. So, don your apron, gather your ingredients, and embark on this culinary journey that combines tradition, innovation, and a dash of alchemy in a single jar of fermented salsa. Your taste buds and gut will thank you for it!
FAQs
Fresh tomatoes are recommended for their flavor and natural enzymes, but you can experiment with canned tomatoes if fresh ones are unavailable.
Fermented salsa can last for several weeks to a few months in the refrigerator. The flavor may continue to evolve over time.
Yes, you can control the heat by adjusting the quantity of jalapeños or chili peppers. Be mindful that the heat may intensify during fermentation.